维奥
LED Leading brand of video processing equipment
National high tech enterprise
LED Leading brand of video processing equipment
National high tech enterprise

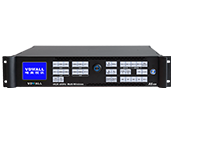
LVP 60XX includes following model:
1. LVP601 / LVP601S
2. LVP601+ / LVP601S+
3. LVP602 / LVP602S
4. LVP603 / LVP603S
5. LVP606 / LVP606A
6. LVP605 series
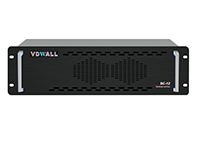
Notice:LVP60xx can build in 2 small sending card or 1 large sending card,we take Linsn sending card for example:
1) Assemble in one 801(or 802)sending card,support driving capability of 1280*1024(Single 802 support 1920*640 driving)
2) Two 802 sending cards cascade, extend driving capability up to 1920*1080
1) Disassemble the cover,unscrew the plate,adjust the screw cylinder position for corresponding sending card brand.
.jpg "1.jpg")
.jpg "2.jpg")
2) First sending card assembly:insert in the sending card to processor chassis slot,tighten the fixing screw,so as the DVI input screw,connect 5V DC power to sending card PW1 connector.
1) Assemble the second sending card,similarly tighten the associated fixing screw and DVI screw, connect the 5V DC power.


2) Connect the 10 Pin data cable to sending card RS 232 port separately, enable sending card cascading. Meanwhile one sending card must be in On mode and the other card on OFF mode with toggling switch operation.

3) The following is LVP60xx external signal cable connection

Follow VDWAll

关注抖音走进唯奥
关注优酷走进唯奥
Facebook走进唯奥
LinkedIn走进唯奥
腾讯视频
Copyright © Shenzhen VDWALL Co., Ltd.
Follow VDWAll
Copyright © Shenzhen VDWALL Co., Ltd.


 Online consultation
 Telephone
(1).jpg)